History Plays Map: Difference between revisions
CharlesWebb (talk | contribs) |
CharlesWebb (talk | contribs) |
||
| Line 4: | Line 4: | ||
=== <u>Select Plays</u> === | === <u>Select Plays</u> === | ||
[[File:Map1.gif|600px]] | [[File:Map1.gif|600px]] | ||
[[File:Example.jpg]] | |||
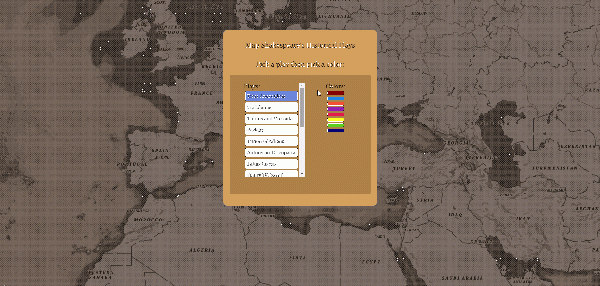
- Select a play and then a color to start building a legend for the map. | - Select a play and then a color to start building a legend for the map. | ||
Revision as of 09:02, 28 March 2019
How to use the History Plays Map
Select Plays
- Select a play and then a color to start building a legend for the map.
- You can select up to eight plays at once.
- You can clear your choices and start fresh by pressing the 'Clear' button.
- Once you have selected the plays you want to map, click the "Go" button to generate the map.
- You can zoom in and out on the map as well as use the mouse to drag the map whichever way you need to.
- Clicking on any of the plays in the legend will remove that play's dots from the map.
- You can also go back to the selection menu easily by pressing the back button at the top of the legend.
Getting Information From the Map
- Mouseover any of the dots to get the name of the place.
- Click on a dot to get a list of all the lines in which that place is mentioned. The list is organized so that each row represents one line with the information in this order: Play, Speaker, Act.Scene.LineNumber
- Clicking on any of the Act.Scene.LineNumber links will take you directly to that line in the play on Folger Digital Texts
Overlay Historical Maps
- When you click the "Historical Maps" dropdown menu you will see several options for historical maps that you can overlay onto the base map.
- Clicking on any of these options will load the overlay. Also, you will see a sliding scale underneath the dropdown menu, which you can use to control the opacity of the overlays.
